Introduction to Cloud Computing
This module will be partially interactive. Please follow along on your own computer.
What is a cloud?
A “cloud” is a computer system that provides users with shared access to on-demand computing resources via the internet.

Goals/Benefits
- Resource utilization
- Scalability and Elasticity
- Reproducibility by way of Programmability
- Reliability through redundancy
Cloud Means Different Things to Different Groups
Different kinds of people use clouds for different purposes.
- System Administrators - use cloud to automate operations.
- Software Developers - build applications on cloud servers and platforms.
- Computational scientists - Write codes to analysis scientific data in the cloud.
In this course we will try to exposure you to each of these views.
Cloud service models
Clouds can offer different service models:
- Infrastructure-as-a-service (Iaas) - virtual servers, networks, firewalls, etc. (AWS, Azure)
- Platform-as-a-service (Paas) - deploy applications without managing virtual servers (Google App Engine, Heroku)
- Software-as-a-service (Saas) - Ready to use software application (Gmail, Office365)
Also: emerging models such as functioni-as-a-service.
Infrastrcture-as-a-service
Key concepts:
- Virtual Machines (VMs) - Simulate a physical computer through software.
- Software defined networking: Routers, networks and subnets - used to connect VMs to other computers.
- Security groups - firewall rules enabling or disabling network traffic to/from ports on the VMs.
Hands on: Launching a VM on the JetStream cloud
- Navigate to the JetStream Horizon interface: https://tacc.jetstream-cloud.org
- Login with your tacc User Name and Password and enter “tacc” for the Domain.
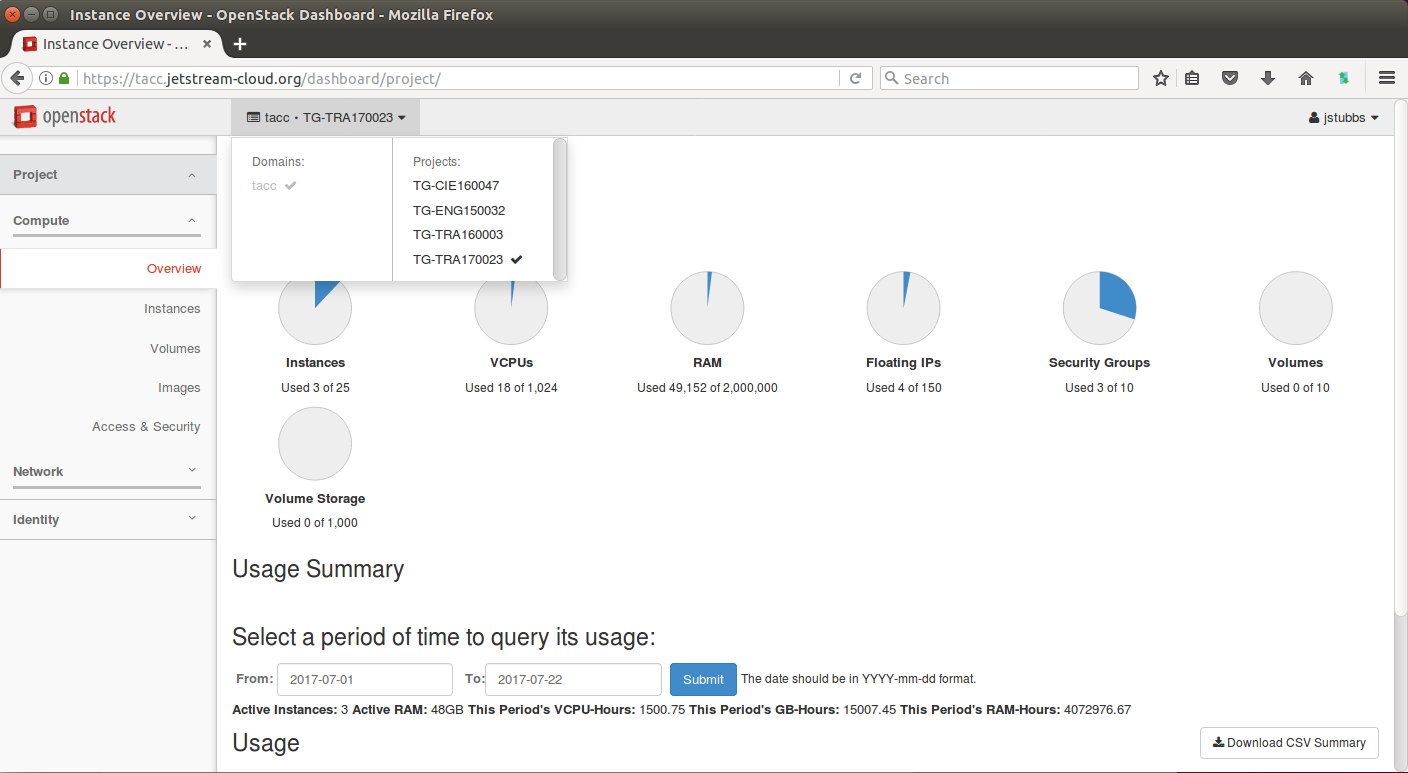
- Make sure you see our Training project (TG-TRA170023) in the projects drop down at the top and select it if it is not already selected (check mark):

- Select Access & Security -> Key Pairs -> Create Key Pair. Give your key a name and click “Create Key Pair”. When prompted, download the key file to your local desktop or click the Download link.
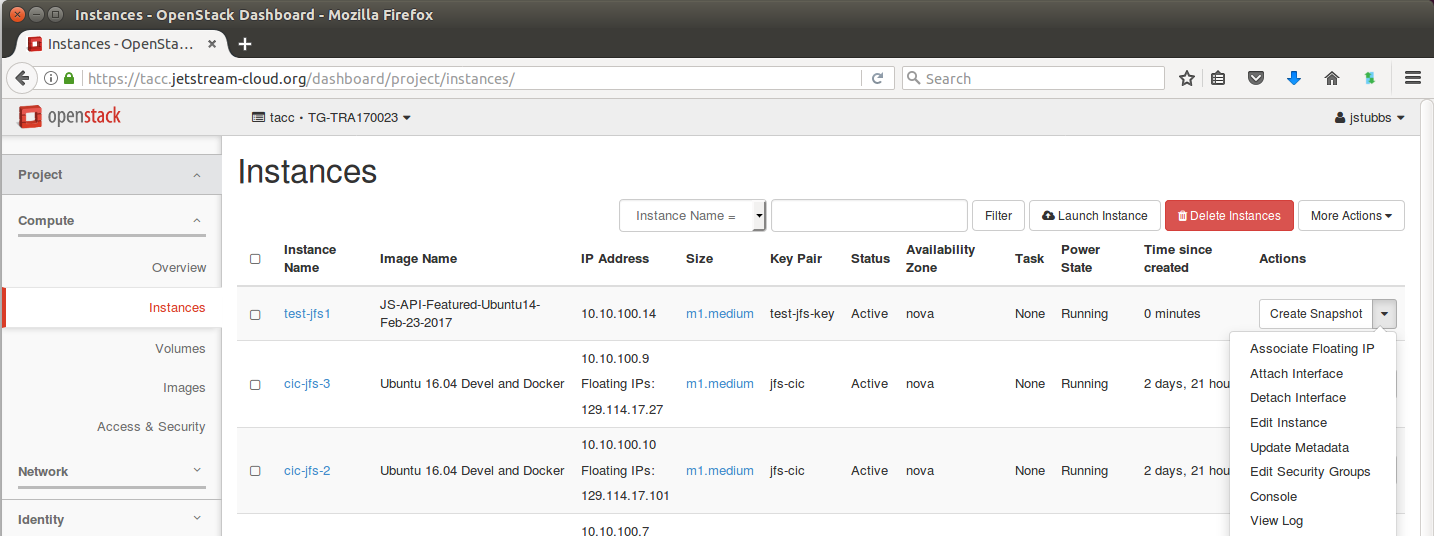
- Instances -> Launch Instance.
- Details: Name your instance something like your_name01 and click Next (Don’t click launch instance)
- Source: Click the “No” under “Create New Volume”
- Source: Enter JS-API-Featured-Ubuntu16-May-11-2018 in the search and click the plus (+) to select that image.
- Flavor: Click the plus next to m1.medium
- Networks: Choose the TG-TRA170023-subnet by clicking plus.
- (Skip Network Ports by clicking next)
- Security Groups: Select default security group.
- Key Pair: Select the key you just created in step 4.
- Click Launch instance.
- Once the VM has been spawned, click the arrow at the far right to select “Associate Floating IP” from the available instance actions.

- Select an IP in the drop down (if there is not one, click the plus (+) symbol to allocate one) and click Associate.
Hands on: verifying connectivity to the VM
Use the SSH key and IP address you generated in steps 4 and 7 above, respectively to test connectivity to your new VM.
OSX/Linux:
 Open the application 'Terminal'
  # make sure your key file has the correct permissions:
  $ chmod 0600 chmod 0600 ~/Downloads/<key_name>.pem
  # connect to the VM over SSH
  $ ssh -i ~/Downloads/<key_name>.pem ubuntu@<IP address>
Windows:
 Open the application 'PuTTY'
  enter Host Name: <IP address>
  (click 'Open')
  (enter "ubuntu" username)
  (select your key)
If all goes well you should see a command prompt that looks something like:
Last login: Sat Jul 22 17:52:45 2017 from dhcp-146-6-176-22.tacc.utexas.edu
ubuntu@test-jfs1:~$